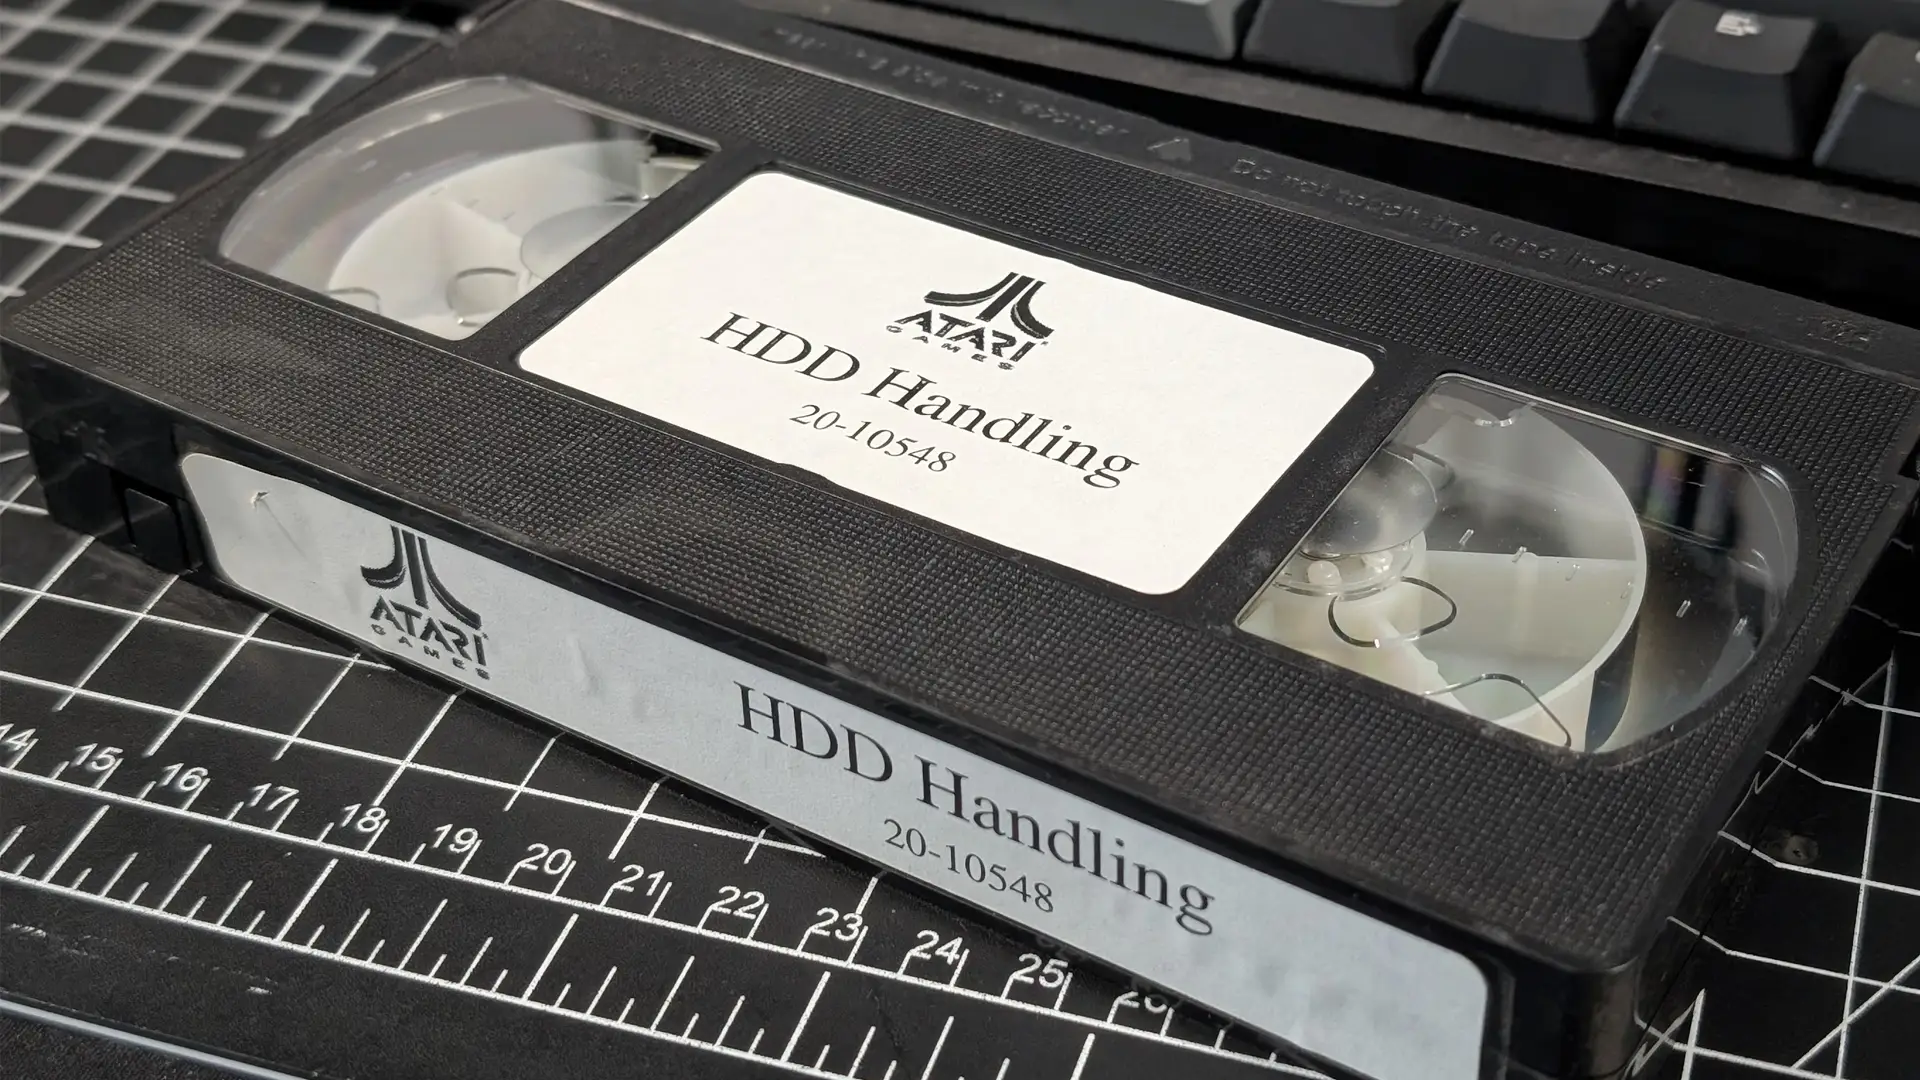
Lost Media: Atari HDD Handling VHS (Area 51 Arcade Game)
Published:
Today, we are restoring the contents of an instructional maintenance video made for Atari arcade cabinet owners, with possibly only two[1][2] other known uploads.
The existing uploads are pretty low quality but seem to have been captured from a tape a long time ago, giving them some clean source material to work with. Unfortunately, the quality of those uploads is limited by the resolution and low bitrates of the time. They also appear to come from a different tape than the one we have, since both include a Time Warner Interactive title sequence that’s missing from ours.
Now, the tape we’re working with is from the 90s, and it hasn’t aged well. There’s a fair bit of signal degradation that’s going to be a challenge to deal with. For this first pass of the restoration, we’re focusing on not altering the original content too much. Nothing has been in-painted or added; we’ve just applied some basic processing; deinterlacing, color correction, noise reduction, sharpening, and a few other tweaks to clean it up a bit.
Tape Contents
| Source | Link | Archival Version |
|---|---|---|
| Internet Archive | Internet Archive currently down. Coming soon. | v.1 |
| Torrent | Internet Archive currently down. Coming soon. | v.1 |
While we wait for the Internet Archive to come back online, you can watch the segments on YouTube below and follow @LostPixelLore on your favorite social media platform for updates on the archival version.
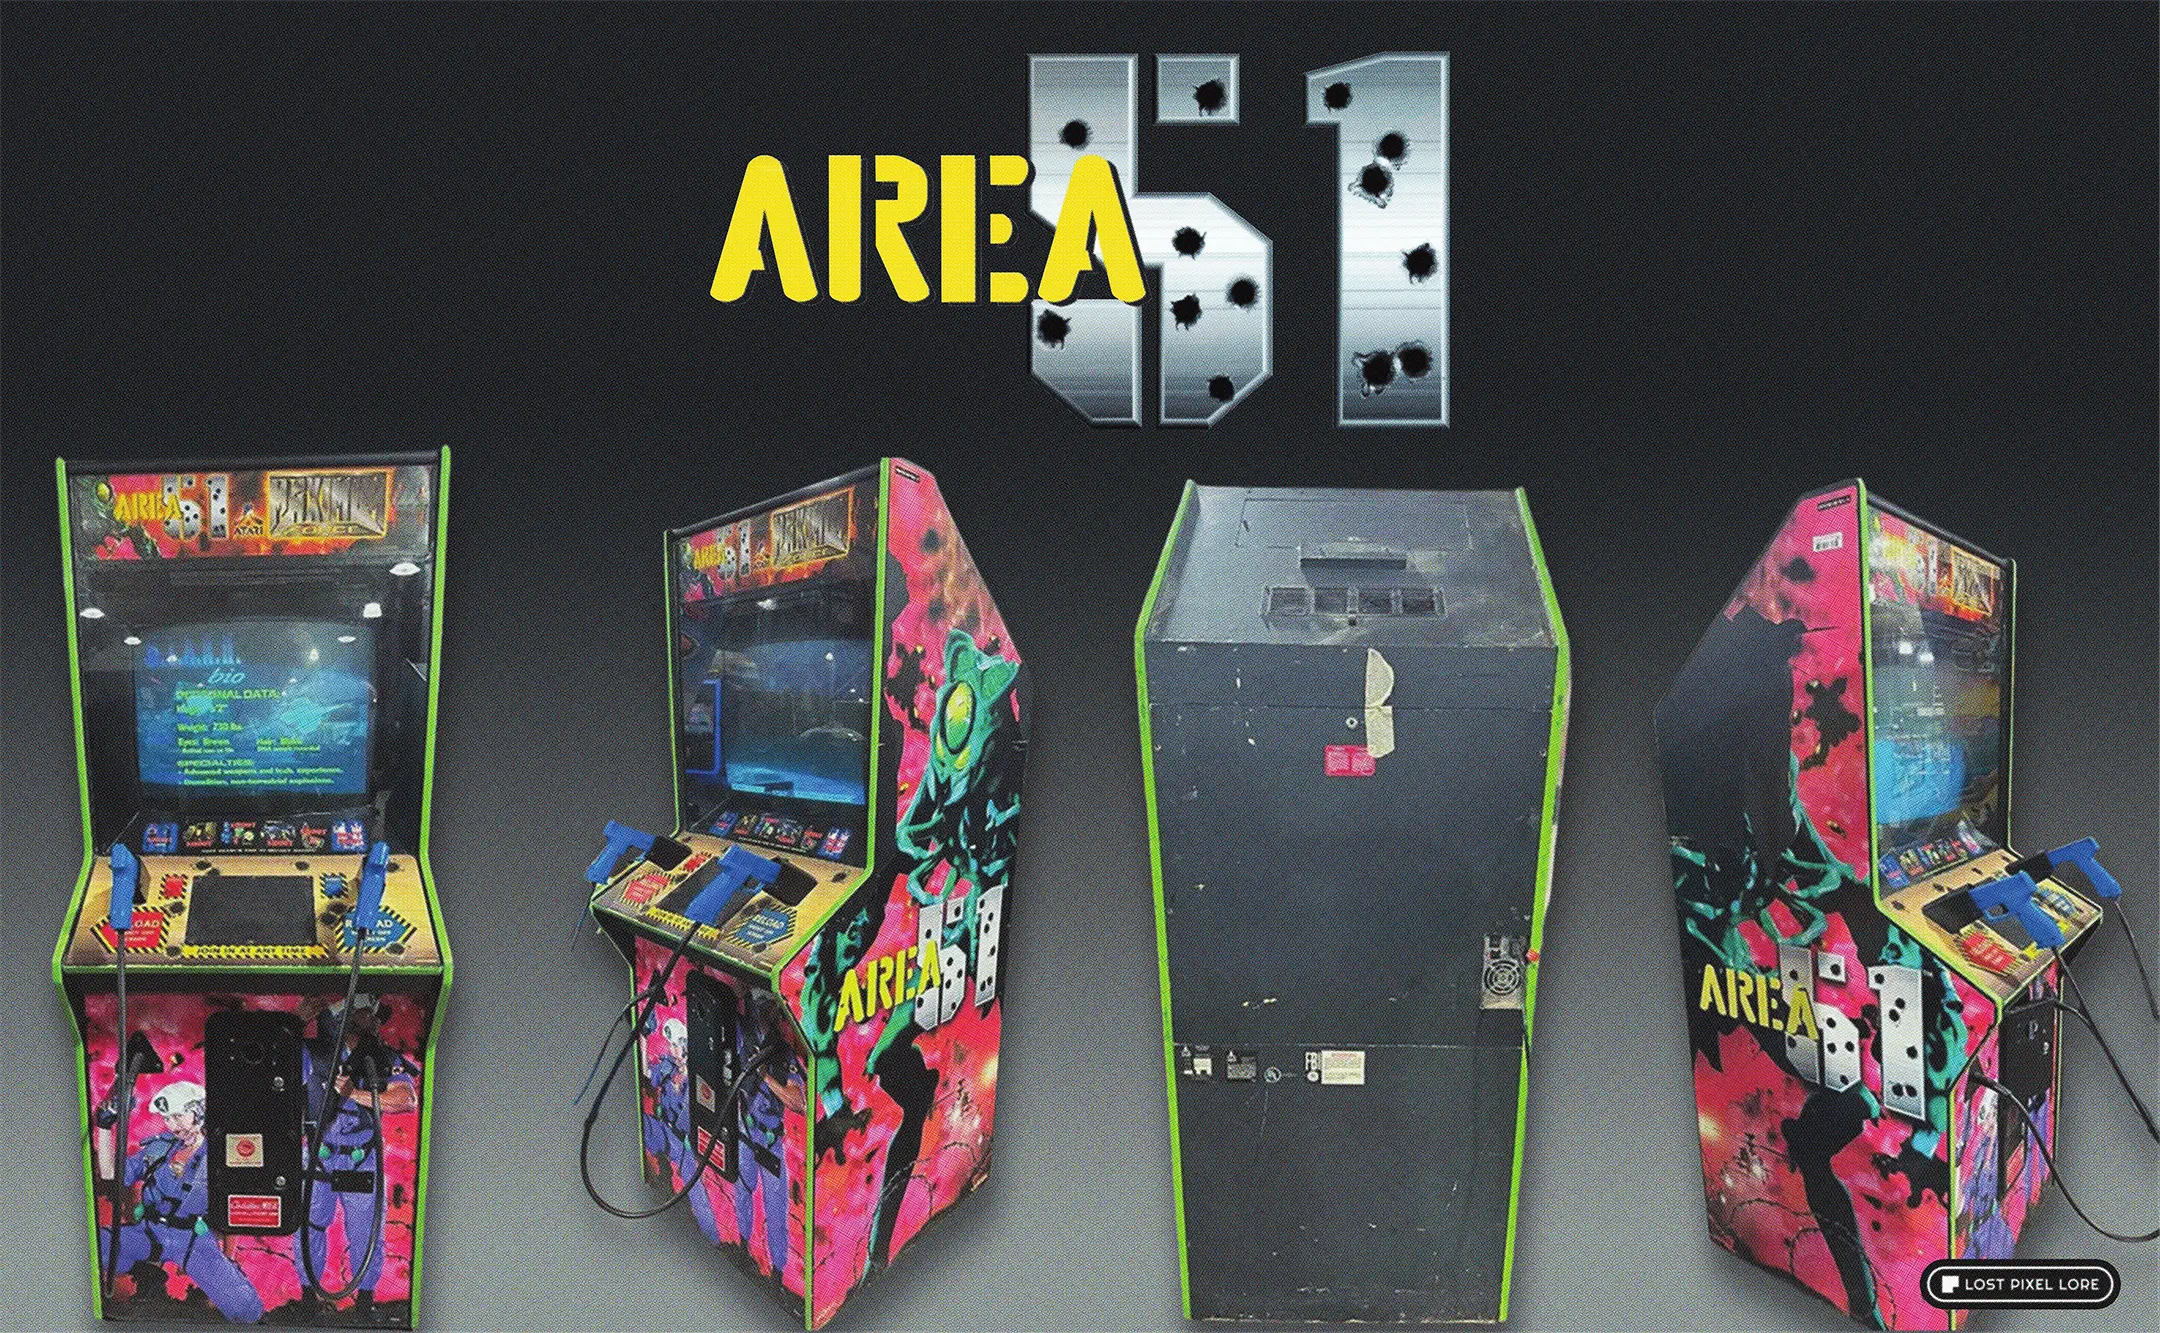
Area 51
The first segment of the tape is the same content that can currently be found on YouTube, however without the Time Warner Interactive intro, but with a higher resolution / bitrate, and with our restoration methods applied.
This appears to be a maintenance guide aimed at owners of the Area 51 arcade cabinet, with instructions on how to replace the Quantum hard drive inside the machine.
Given Area 51 was the featured game in the video, it’s fairly likely that the tape was distributed around the time of the release of Area 51 in 1995.
Quantum Hard Drive Handling
There are two additional segments on the tape I have not been able to find anywhere else currently. The two segments both feature unique footage but are both related in that they are both instructional videos from Quantum on how to properly handle and transport their hard drives. The Quantum instructional videos appear as though they may have been targeted at their own employees as part of a training program, but it appears the footage made its way onto these maintenance tapes.
Quantum Hard Drive Handling (Japanese)
The final segment is very similar to the last, a Quantum instructional video on how to handle their hard drives, but this time in Japanese. The footage is different, rather than just a re-dub of the English version. However, this portion of the tape suffered the most degradation, leading to multiple quality issues. I opted not to get too heavy-handed with the restoration, so you will notice some vertical sync issues. In most of the rest of the footage I used a second capture to help average out the noise, but in this case, the time sync issues became too frequent to keep the two captures in sync for the entire video.
Restoration Process
Soon I’ll give a full breakdown of the restoration process, but right now I’m still making some significant changes to the process as we go. The best way to capture VHS is with a tool called vhs-decode, but that requires a very unique piece of hardware, and it’s not exactly something you can just buy. So, we are doing, nearly, the next best thing.
Equipment
The VHS tape is played in a high quality VCR with a built-in TBC to provide the best signal possible. The output from the VCR is going into a video matrix, but this has no effect on the signal. The signal is duplicated and set out to multiple outputs, such as video monitors and a Sony VRD-MC5 DVD recorder.
The DVD recorder is capturing the video in real time without much or any frame loss, which can be an issue with a slower computer. Getting a capture card involved in the process can also be challenging, there is usually an upscaler involved that can introduce digital artifacts, there can be trouble with 4:3 content and having it converted to 16:9, and we can avoid all of that by just recording to DVD, at the cost of a small amount of compression.
Editing
Two or three recordings of the tape are made, and will all be used in the restoration process. First, multiple captures can be synced up and overlayed on top of each other to average out the noise. The more captures, the better the effect. Multiple captures are also useful when there are intermittent issues with the tape, they can sometimes be offset by enough between captures that it’s possible to splice together a clean version of the video.
Before we actually do any editing, the captures have to be deinterlaced. The video signal on VHS (and our DVD) comes in a format where every other line is drawn on the screen, and then the opposite set of lines are drawn on the next frame. In the video file, this looks like a “combing” effect, where the lines are not drawn in the correct order. Deinterlacing is a filtering process that takes the two sets of lines and separates them out into two separate frames. The way we do it mean we get double the frame rate, but the vertical resolution is halved. This sounds like a bad trade, but it better represents what the original video looked like in real life.
After getting a clean source for the footage, deinterlaced and frame averaged, we can start to apply some traditional video editing. The damage to the tape from just degrading over time shows up as a loss in contrast, color, and sharpness in the video. You will also typically see color bleed, where high contrast areas will streak off to the side, and this is particularly difficult to fix. In this video, we only applied color correction, sharpening, and contrast adjustments.
Last of all, the audio. I use Adobe Audition, but nearly any audio editing software will do. The bulk of the work is typical spectral noise reduction. I do a few separate passes at low strengths to get the noise floor all the way down, and then add a custom low pass filter to bring back the vocals. The audio is the manually re-synced to the video, and the final product is exported.
What’s Next?
That’s the last super interesting tape in the collection at the moment. I’ve been keeping my eye on some eBay listings, but it looks like prices are starting to go up, while tape quality will continue to go down. We still have plenty of tapes to review that may contain TV commercials, and I’ll be keeping an eye out for more video game tapes. If you have anything you’d like to send in, please reach out to me on the contact page.

